When water floods your property every time it rains, it can be an unsettling occurrence. The moisture can erode the soil of your property and potentially even wash away landscaping resulting in a considerable mess. Plus, pooling moisture can damage foundations and choke out plants. Fortunately, there is a simple solution, creating a drainage trench.
A drainage trench is an effective way to allow moisture to flow naturally into proffered outlets. This is a simple, safe, and effective way to protect plants and property while preventing water from pooling and causing harm.
What Is a Drainage Trench?
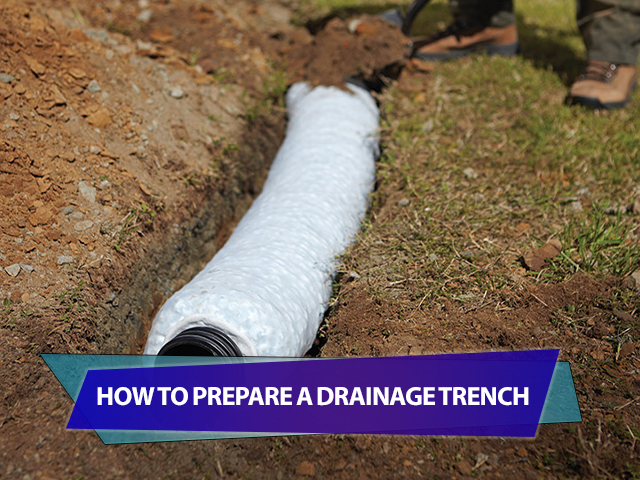
A drainage trench or fre is an above-ground method for draining excess water from an area of land either into safe outlets such as nearby waterways or simply by ensuring an even drainage. It does this using entrenched materials such as perforate plastic or steel pipes. These are an eco-friendly way to redirect water and can be installed easily.
Steps To Dig a Drainage Trench
Plan Your Trench
Before getting started, it is important to be sure you have a plan for effectively draining water. First of all, identify where water is collecting, and anywhere it may be coming from and going toward. Next, it is important to identify where you can divert the water to prevent any damage. The trench itself must slope downward a minimum of one inch for every ten feet of length. If there is an insufficient slope, water will be unable to drain.
Dig Your Trench
Depending upon the size of the project, either hand tools such as a shovel or hoe may be used, or larger land excavation equipment may be used. The trench must be large enough to house a drain pipe as well as gravel. Generally, the trench should be at least nine inches in width and eighteen deep.
Keep in mind that the wider the trench is, the more effective it will be at collecting water and preventing clogging. For larger areas of land, it is often a good idea to hire a professional excavator to handle this step before continuing.
Prepare the Trench
Start by lining the trench with water-permeable landscaping fabric. This will prevent plants and roots from infiltrating and causing issues with drainage. Ensure that seams are overlapping with enough extra to wrap over the gravel. Next, layer a few inches of washed gravel over the liner.
Install the Drain Gate and Pipe
Now it is time to install the drain pipe and ensure that the drain gate and outlet are above the trench to permit water to flow to the pipe through the trench. The pipe itself can be perforated to allow water to distribute evenly along its length without the need for an output. However, a solid pipe can be used to carry water to an open drain end. This could be into something like a gravel bed, garden, or pond.
Cover the Trench
Now it is time to cover the trench over. If a perforated pipe is used, it is important to cover it with an additional layer of gravel to ensure proper drainage. However, from there, either pipe can be covered over with soil, more gravel, or other materials of your choosing.
Final Thoughts
A drainage trench can be an extremely effective way to prevent flooding on tracts of land of any size. By following the above steps, you can create a drainage trench that will help redirect water and help prevent potential damages.
Contact Us
For help with the excavation of dirt and debris on your property, contact Coastal Brush Control LLC. Our team is ready to provide you with top-tier quality and fast service. Call us at 910-915-6619 and connect with us on Facebook and Instagram.


